Basics
Screens & Slides
Experiments in magpie follow a certain conceptual structure, as visualized in the following schema, the basic ingredients of which are screens and slides.
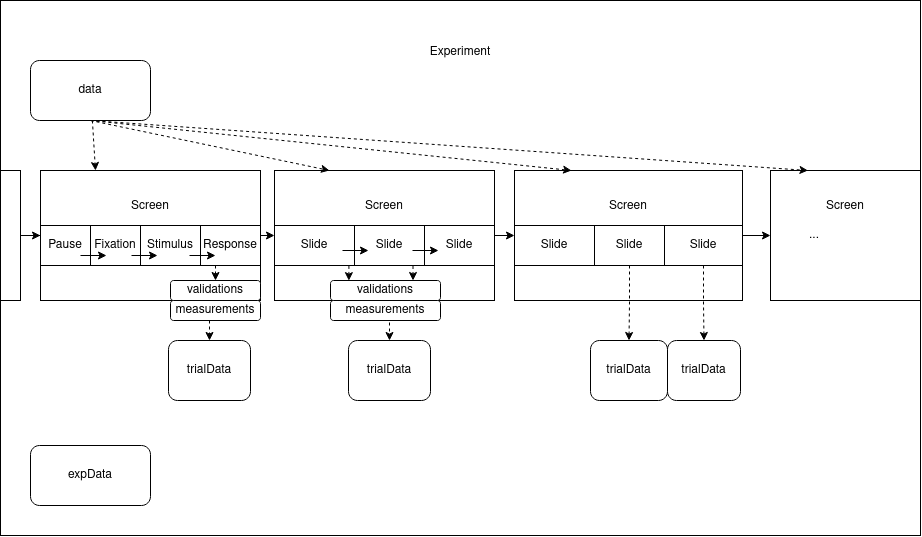
Every experiment is composed of a series of screens that participants will go through sequentially. There is often a "welcome screen", or an "instructions screen" with information for the participants. And there will likely be one or several kinds of screens realizing the actual experimental trials which collect the data (more on this below). The same kind of screen can be repeated (looped), as is often the case in experiments with multiple experimental trials of the same kind.
A screen may consist of one or more slides. Slides simplify dynamic presentation of more intricate tasks. For example, in many psychological experiments a single trial may consist of different stages, often carefully timed, often presented in research papers like in the picture below. Each stage of such a trial can be realized as a slide in magpie.
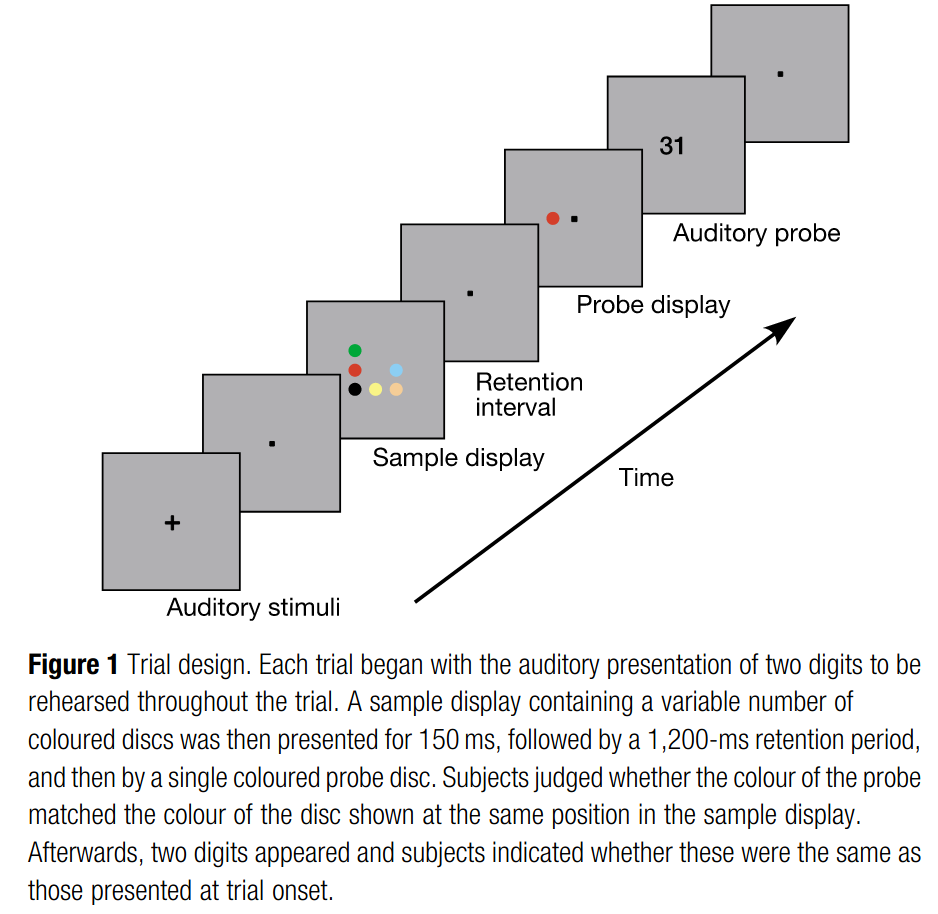
Figure 1 from Todd, J., Marois, R. Capacity limit of visual short-term memory in human posterior parietal cortex. Nature 428, 751–754 (2004). https://doi.org/10.1038/nature02466
To ease the realization of the most common experimental designs, there are many built-in screen components ready for use, allowing the quick assembly of simple experiments. These screens always have 4 slides, which implement:
- A pause
- A fixation point
- Stimulus presentation
- Response collection
The duration of these slides and other parameters are freely configurable in these screen components.
Data in, data out
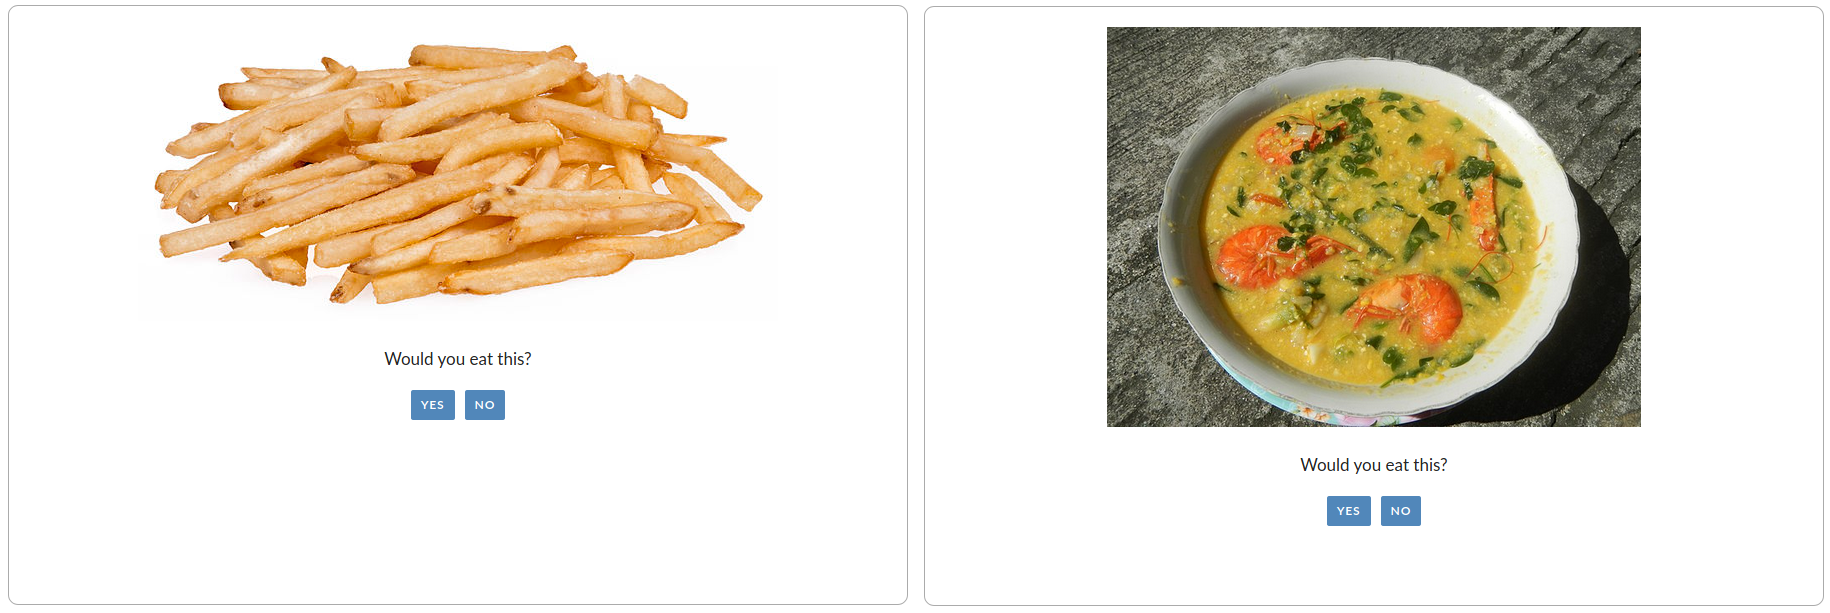
A magpie experiment reads in the data used to build the experiment, usually termed "independent variables" in psychological literature, in the form of a CSV file. This could be textual/visual/auditory stimuli that will be presented to the participants or possible choices that the participants can make.
| question | picture | option1 | option2 |
| "What is on the bread?" | "images/bread.jpg" | "jam" | "ham" |
| "What is the weather like?" | "images/weather.png" | "shiny" | "rainbow" |
| "What is your opinion of this pet?" | "images/pet.jpg" | "cute" | "ugly" |
In this example our data contains questions a path to a picture and two options for participants to choose from.
The reason to run an experiment is, of course, to collect data. Data collected by a magpie experiment is of two kinds:
- trial-level data: these are measurements made in individual trials, e.g., the reaction times for the first, second ... trial the participant saw
- global, experiment-level data: this is information, like screen resolution, a participant's age or the experimental group that a given participant was allocated to, which is globally fixed across the experiment.
Corresponding to these two kinds of data, magpie experiments have two internal data representations trialData and expData, which you can add information to at any time.
At the end of the experiment, the data from trialData and expData will be merged, to give a tidy rectangular data representation (see example below).
| response | response_time | age | screen_resolution |
| "jam" | 1307 | 28 | "1024x768" |
| "shiny" | 3590 | 28 | "1024x768" |
| "cute" | 2746 | 28 | "1024x768" |
This is an example result after running an experiment.
At the end of an experiment, you can display all the data that was collected on the screen, which is handy for debugging. For a live experiment, magpie instead sends all collected data to the backend, thereby automatically adding additional information (e.g. a unique participant and experiment ID).
Anytime during a screen, you can directly save a set of measurements to be added as a row to the trialData using $magpie.addTrialData.
$magpie.addTrialData({response: 'cute', response_time: Date.now() - start_time})
To make collecting measurements across slides easier, you can also gradually accumulate data on a per-screen basis, namely
by using the measurements object.
Once the trial is completed you can simply save all measurements in one go. This minimizes the code you have to write when
building your own screens (see the section on building Custom Screens).
Screens also allow specifying validations of the measured observations, for example to make sure entered text has a certain character length.
Implementation
A magpie experiment is implemented using Vue.js. Essentially, magpie provides ready-made screens, slides and other useful reusables to implement an experiment using Vue.js. If you are not familiar with Vue.js, the following section serves as a basic introduction: Vue.js If you are familiar with Vue.js, you can skip ahead to the implementation basics.